Views: 24 Author: Site Editor Publish Time: 2025-08-22 Origin: Site
A reliable source of water is a cornerstone of any home, especially in areas beyond municipal services. For those relying on a private well, the submersible pump is the heart of the system, working silently underground to deliver fresh water on demand. While installing one might seem like a job reserved only for professionals, a well-prepared DIYer with the right tools and knowledge can tackle this project successfully.
This guide provides a comprehensive overview of how to install a submersible water well pump. We'll walk through the essential tools, safety precautions, and step-by-step instructions needed to get your well system up and running. Following these steps carefully will help ensure a safe and effective installation, providing your home with a consistent water supply for years to come.
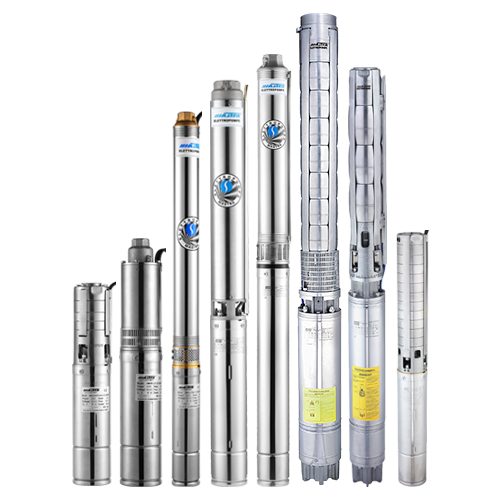
Before starting the installation, it’s important to understand the key components of a submersible well pump system. These pumps are long, cylindrical devices designed to be lowered deep into a well casing, fully submerged in water.
A typical setup includes:
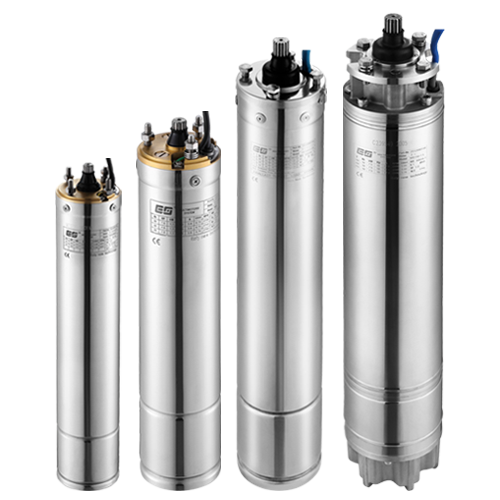
· The Pump and Motor: The pump itself is connected to a sealed motor. When activated, the motor powers impellers inside the pump, pushing water up through a pipe to the surface.
· Drop Pipe: This is the rigid or flexible pipe that carries water from the pump to the wellhead.
· Electrical Wire: A waterproof, submersible electrical cable runs from the pump motor up to a control box at the surface.
· Check Valve: This one-way valve prevents water in the drop pipe from flowing back down into the well when the pump turns off. Most pumps have an integrated check valve, but adding another one is often recommended.
· Pitless Adapter: This fitting connects the drop pipe to the water line running to your house, creating a sanitary, frost-proof seal below the frost line.
· Well Cap: A sealed cap at the top of the well casing prevents contaminants from entering the well.
Proper preparation is the key to a smooth installation. Having all your tools and materials ready will prevent delays and help you work efficiently.
Essential Tools:
· Pipe wrenches (two)
· Wire strippers and crimpers
· Screwdrivers (Phillips and flathead)
· Utility knife
· Tape measure
· Heat gun (for heat-shrink splices)
· Safety glasses and gloves
· Rope or hoist for lowering the pump
Materials:
· Submersible well pump and motor
· Drop pipe (HDPE/poly pipe is common for DIY)
· Submersible pump wire (correct gauge for pump size and depth)
· Waterproof wire splice kit
· Stainless steel hose clamps
· Safety rope
· Teflon tape for threaded fittings
· Torque arrestor (to prevent the pump from torquing against the casing)
Safety should always be your top priority. Ensure the power to the well is completely turned off at the breaker before you begin. Working with electricity and water requires extreme caution.
If your pump and motor come as separate units, you’ll need to connect them first. Follow the manufacturer's instructions for coupling the two components. Next, you need to connect the submersible wire to the motor leads. This is a critical step that requires a waterproof seal.
· Strip the ends of the motor leads and the submersible wire.
· Use a heat-shrink splice kit to create a secure, waterproof connection for each wire. Stagger the splices so they don’t create a single bulky spot.
· Carefully use a heat gun to shrink the tubing, ensuring a tight seal around each connection.
Now, it's time to connect the drop pipe and other components to the pump.
· Wrap the threads of the pump outlet with Teflon tape.
· Screw a pitless adapter fitting or a barbed fitting (for poly pipe) into the pump outlet. Tighten it securely with a pipe wrench.
· If you’re adding an external check valve, install it directly above the pump outlet.
· Slide the torque arrestor onto the drop pipe just above the pump. This device will brace against the well casing to prevent the pump from twisting during startup.
Run the submersible wire and a safety rope alongside the drop pipe.
· Starting about every 10 feet from the pump, use electrical tape or specialized wire guards to securely fasten the wire to the drop pipe. This prevents the wire from chafing against the well casing.
· Tie the safety rope securely to the designated eyelet on the pump. This rope is a crucial backup for retrieving the pump if the drop pipe ever fails.
This step often requires two people for safety and control.
· Carefully begin lowering the pump, pipe, wire, and rope assembly into the well casing.
· Guide the assembly to prevent it from getting caught on the side of the casing. Do not let the pump drop freely.
· Lower the pump until it is at the desired depth. It should be at least 10-20 feet from the bottom of the well to avoid pulling in sediment, and it must always remain fully submerged below the static water level.
· Once at the correct depth, engage the pitless adapter to lock it into place against the well casing.
With the pump in place, you can complete the connections at the wellhead.
· Cut the drop pipe, wire, and safety rope to the proper length.
· Secure the safety rope to the wellhead.
· Install the well cap, feeding the electrical wire through the designated conduit opening.
· Run the wire from the wellhead to the pressure switch or pump control box and make the final electrical connections according to the manufacturer’s wiring diagram. If you are unsure about this step, consult a licensed electrician.

After all connections are made and checked, you can restore power at the breaker. The pump should kick on, and you should start to see water flow into your pressure tank. Check for any leaks at the wellhead and inside your home. It’s normal for the water to appear cloudy or contain some sediment at first; let it run from an outside spigot until it becomes clear. Monitor the pump as it cycles on and off to ensure the pressure switch is set correctly and the system operates smoothly.
Installing a submersible well pump is a challenging but rewarding project. By carefully following these steps and prioritizing safety, you can successfully set up a reliable water system for your home. Proper installation is the first step toward years of trouble-free operation, giving you peace of mind and the satisfaction of a job well done. If at any point you feel unsure about the process, especially the electrical work, do not hesitate to call a professional well service for assistance.