Views: 52 Author: Site Editor Publish Time: 2025-08-25 Origin: Site
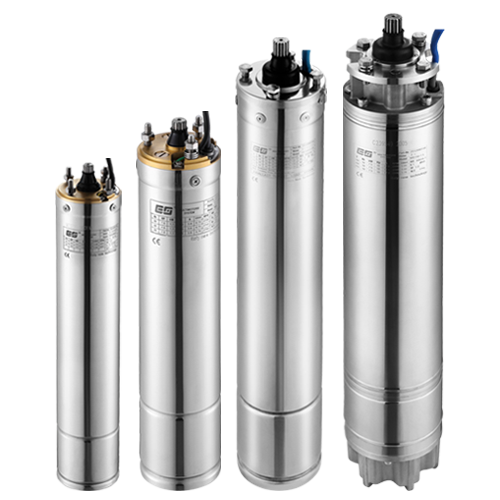
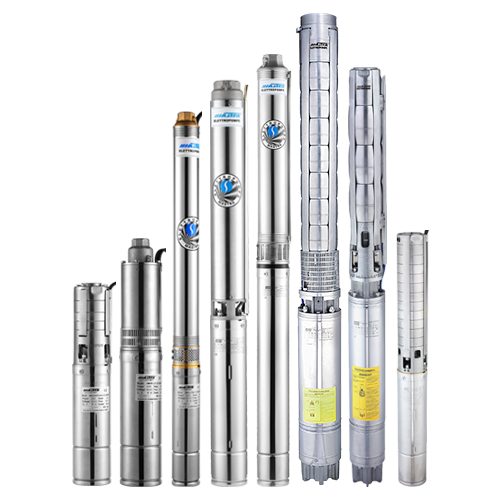
When your submersible water well pump stops working, you might think calling a professional is your only option. But with the right tools and knowledge, pulling a submersible water well pump is a task many homeowners can handle themselves. This comprehensive guide will walk you through the entire process, from preparation to completion, helping you save money and gain valuable skills along the way.
Understanding when and why you need to pull your pump is crucial. Common signs include decreased water pressure, unusual noises, or complete loss of water flow. Sometimes the pump itself fails, but other times the issue might be with electrical connections or the drop pipe. Regardless of the cause, removing the pump is often the first step toward getting your water system back online.
Before you begin any work on your submersible water well pump, safety must be your top priority. Working with electrical equipment and deep wells requires careful attention to potential hazards.
Start by turning off all electrical power to the pump at both the breaker box and the disconnect switch near the well head. Use a voltage tester to confirm the power is completely off before proceeding. Never attempt this job during storms or wet conditions, as water and electricity create dangerous combinations.
Ensure you have adequate lighting and a clear work area around the well head. Remove any obstacles that might interfere with lifting the pump and pipes. If your well is particularly deep, consider having a helper present to assist with the heavy lifting involved.
Gathering the right tools before starting will make the job much smoother. You'll need a pipe wrench large enough to grip your drop pipe, typically 24 inches or larger. A chain wrench can also be helpful for gripping round pipes securely.
For electrical work, have wire strippers, electrical tape, and wire nuts on hand. You'll also need a multimeter to test connections and troubleshoot issues. A headlamp or flashlight will provide hands-free lighting while working in tight spaces around the well head.
Consider renting or borrowing a come-along or manual winch system if your pump is deeper than 100 feet. These tools can save your back and make the job much more manageable. Don't forget safety equipment like work gloves and safety glasses.
Your submersible water well pump connects to the surface through a well head, which should be clearly marked and easily accessible. The well head typically consists of a cap or cover that protects the well from contamination while providing access for maintenance.
Remove the well head cover carefully, as it may be heavy. Some covers are held in place by bolts, while others simply lift off. Set the cover aside in a safe location where it won't be damaged or cause a tripping hazard.
Once exposed, you should see the top of your drop pipe, electrical wiring, and possibly a torque arrestor or other fittings. Take a moment to photograph or sketch the setup before disconnecting anything. This documentation will prove invaluable during reassembly.
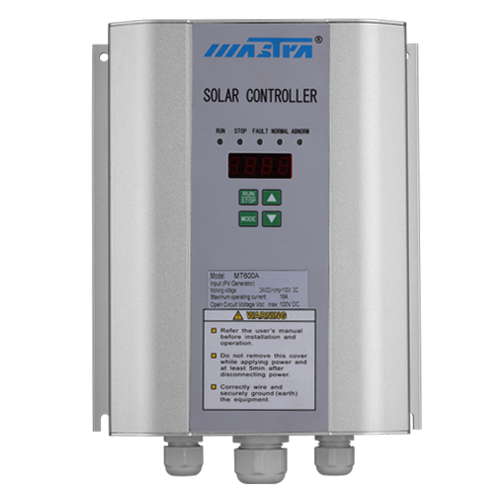
With the power confirmed off, you can safely disconnect the electrical connections to your submersible water well pump. Most pumps use a control box mounted near the well head or in a nearby building. Open this control box and identify the wires leading to the pump.
Carefully disconnect the pump wires from the control box, marking each wire with tape to ensure proper reconnection later. The pump typically uses three wires: two for power and one for grounding. Some systems may also include a start capacitor or other components that need disconnection.
Examine the electrical connections as you remove them. Corrosion, burning, or loose connections might indicate electrical problems that contributed to pump failure. Make notes about any issues you discover for future reference.

The most physically demanding part of pulling a submersible water well pump involves lifting the entire drop pipe and pump assembly from the well. This process requires patience and proper technique to avoid injury or equipment damage.
Begin by loosening the connection between the drop pipe and the surface plumbing system. This connection is typically made with a union or threaded fitting that can be loosened with pipe wrenches. Have a bucket ready to catch any water that drains from the pipes.
Start pulling the drop pipe up slowly and steadily. Most drop pipes come in 20-foot sections connected by threaded couplings. You'll need to support the pipe as you lift to prevent it from falling back into the well. If working alone, use clamps or a chain to secure each section as you bring it to the surface.
Continue this process section by section until you reach the pump at the bottom. The pump will be significantly heavier than the pipe sections, so be prepared for the additional weight. Take breaks as needed to avoid fatigue, which can lead to accidents.
Once you've successfully pulled your submersible water well pump to the surface, take time to thoroughly inspect all components. Look for obvious signs of damage like cracked housings, corroded fittings, or damaged electrical connections.
Check the pump's intake screen for clogs from sand, debris, or mineral buildup. A blocked intake can cause the pump to overheat and fail prematurely. Examine the electrical cable for cuts, cracks, or other damage that might have caused electrical problems.
Inspect each section of drop pipe for cracks, corrosion, or threading issues. Pay special attention to the threaded connections, as these areas experience the most stress during operation. Document any problems you find to help determine whether repair or replacement is the best option.
Before assuming your submersible water well pump needs replacement, perform some basic tests to determine the exact problem. Use a multimeter to check the pump motor's electrical continuity and resistance values according to the manufacturer's specifications.
Test each wire in the pump cable for continuity from the pump end to the surface end. A break in any wire will prevent proper operation. Also check for shorts between wires or from wires to ground, which indicate insulation damage.
If electrical tests pass, the problem might be mechanical. Check for seized bearings by trying to turn the pump shaft by hand (when possible). Listen for unusual sounds when manually rotating components, which might indicate internal damage.
While many homeowners can successfully pull a submersible water well pump, some situations require professional intervention. If your well is extremely deep (over 300 feet), the weight and complexity may exceed safe DIY limits.
Complex electrical problems, particularly those involving control systems or variable frequency drives, often require specialized knowledge and equipment. Licensed electricians understand local codes and safety requirements that ensure proper installation.
If you discover problems with the well casing itself, such as damage or collapse, professional well contractors have the specialized equipment needed for these repairs. Attempting to fix structural well problems without proper training can create dangerous conditions or contaminate your water supply.
Successfully pulling your submersible water well pump is just the first step toward restoring your water supply. Whether you're repairing the existing pump or installing a replacement, proper installation procedures are crucial for reliable operation.
Take your time during reassembly, referring to your photos and notes from the disassembly process. Ensure all electrical connections are secure and properly insulated before lowering the pump back into the well. Test the system thoroughly before considering the job complete.
Remember that working on your water well system requires patience and attention to detail. Rushing through any step can lead to problems that might leave you without water for extended periods. With careful planning and execution, however, you can successfully maintain your submersible water well pump and keep your water flowing reliably for years to come.