Views: 27 Author: Site Editor Publish Time: 2025-08-29 Origin: Site
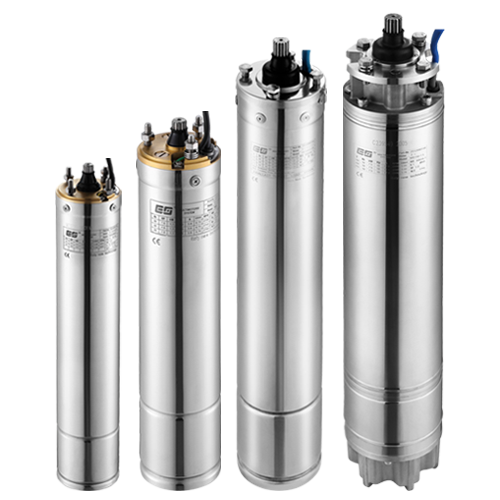
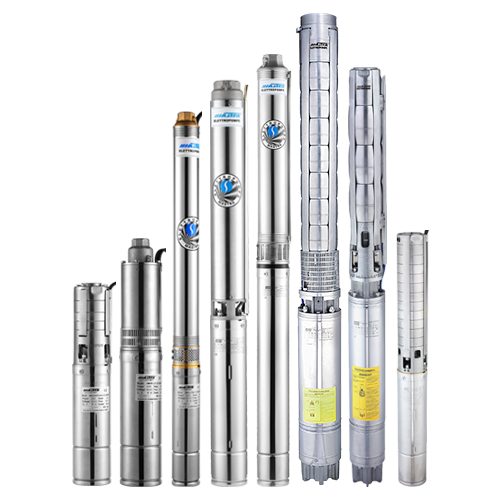
A submersible water well pump is the heart of your home's water system, working tirelessly hundreds of feet below the ground. When it fails, it’s more than an inconvenience—it’s a crisis. But how can you tell if the pump itself is the problem, or if it's an issue with the pressure tank, switch, or wiring? Learning how to properly test a submersible water well pump is an essential skill for any homeowner.
This guide will walk you through the step-by-step process of diagnosing your pump, from simple preliminary checks to more advanced electrical tests. Always prioritize safety; if you are not comfortable working with electricity, stop and call a licensed well professional.
Before you begin testing, you MUST ensure your safety. You will be working with electrical components and water—a potentially deadly combination.
1.DISCONNECT POWER: Go to your main electrical panel and shut off the circuit breaker that supplies power to the well pump. This is non-negotiable.
2.Discharge Pressure: After cutting the power, open a faucet to relieve the water pressure in the system.
3.Use a Multimeter: Even after shutting off the breaker, always use a multimeter to test for voltage at the pump's connections to confirm the power is truly off before touching any wires.
4.Professional Help: If at any point you feel unsure, call a qualified well technician. Pulling a submersible pump is a complex and dangerous job that requires specialized equipment.
Before you assume your submersible pump has failed, perform these basic checks. Often, the issue is simpler and less expensive than a pump replacement.
Ensure the well pump’s circuit breaker hasn’t tripped in your main electrical panel. If it has, try resetting it. If it trips again immediately, there is likely a short circuit, indicating a serious problem that requires professional diagnosis.
The pressure switch is a small box located on the pipe between the well and the pressure tank. It has an electrical cover. With the power OFF, remove the cover. Look for signs of burning or corrosion on the electrical contacts. Listen for a click when the pressure drops. You can also carefully (with power off) check if the contacts are stuck.
A waterlogged or failed pressure tank can cause short cycling (the pump rapidly turning on and off) and mimic pump failure. Perform the "knock test": knock on the side of the tank. It should sound hollow at the top and solid at the bottom. If it sounds dull and thuds all over, the internal bladder may be ruptured. You can also check the tank’s air charge using a tire gauge on the schrader valve (with no water pressure in the tank). It should be 2-3 PSI below the pump’s cut-on pressure.

If the preliminary checks don't reveal the issue, it's time to focus on the pump. There are two primary methods: a voltage test and an ohms (resistance) test, both performed with a multimeter.
· Multimeter (capable of measuring AC voltage and resistance/ohms)
· Insulated screwdrivers
· Work gloves and safety glasses
This test confirms if the pump is receiving power.
1.Locate the Wellhead: Find the well cap, which is the above-ground access point to your well.
2.Locate the Wiring: Remove the well cap (often secured with bolts) to expose the wiring coming from the pump below. You will see typically three or four wires (usually black, red, yellow, and green for ground) connected with a waterproof splice or leading to a terminal set.
3.Set Your Multimeter: Set it to measure AC Voltage (V~), specifically the 200V or higher range.
4.Restore Power (Temporarily): Carefully go back to the electrical panel and turn the breaker back ON. WARNING: The terminals you are about to test are now LIVE. Exercise extreme caution.
5.Test the Lines: Place your multimeter’s probes on the two power terminals (typically Black and Red for a 240V pump). You should get a reading very close to 240 volts. If you get a reading of 0, the problem is in the wiring from the panel to the wellhead. If you get 240V, the pump is receiving power but is not running, which strongly indicates a failed pump.
This is the most definitive test to determine if the pump motor itself has failed. It must be performed with the power COMPLETELY DISCONNECTED and the pump wires isolated.
1.Disconnect Power: Go to the panel and ensure the breaker is OFF. Use your multimeter on the voltage setting to confirm no power is present at the pump wires.
2.Disconnect the Wires: At the wellhead or at the control box (if you have one), disconnect the pump wires from the incoming power lines.
3.Set Your Multimeter: Set it to measure Resistance (Ohms, Ω).
4.Test Between Lines:
· Place one probe on the Black wire and the other on the Red wire. Note the reading.
· Place one probe on the Black wire and the other on the Yellow wire (if present). Note the reading.
· Place one probe on the Red wire and the other on the Yellow wire. Note the reading.
5.Interpret the Results:
· A good pump will show a low, stable resistance reading (e.g., 1-10 ohms, but consult your pump’s manual for exact specs) between each pair of power wires (Black-Red, Black-Yellow, Red-Yellow).
· Infinite Resistance (OL or Open Loop): This means the circuit is broken, indicating a burned-out motor winding or a broken wire. The pump must be replaced.
· Zero Resistance (Short Circuit): This means the windings are shorted together inside the motor. The pump must be replaced.
6.Test for a Ground Fault: Place one multimeter probe on the Green ground wire (or the well casing) and touch the other probe to each power wire (Black, Red, Yellow). The meter should read Infinite Resistance (OL). Any other reading indicates the motor is shorted to ground, a definitive sign of motor failure.
If your electrical tests confirm the pump is receiving power and its windings are good, the issue might be:
· A Stuck Impeller: The pump motor runs but can't move water. This can sometimes be fixed by a professional, but often requires replacement.
· A Blocked Pipe or Screen: Debris or sediment has clogged the intake or the pipe.
· A Broken Drop Pipe: The pipe delivering water from the pump to the surface has cracked or broken.
In these scenarios, the pump must be pulled from the well—a job strictly for well contractors with the proper equipment.
Testing your submersible water well pump can save you time, money, and frustration. If your tests point to a failed motor, replacement is almost always the only option. Repairing a submersible pump is rarely cost-effective. By systematically ruling out other components, you can confidently diagnose the problem and make an informed decision, whether you call a professional for a final verdict or for the replacement itself. Remember, a well-maintained and properly diagnosed system is the key to a reliable supply of clean water for your home.