Views: 43 Author: Site Editor Publish Time: 2025-10-13 Origin: Site
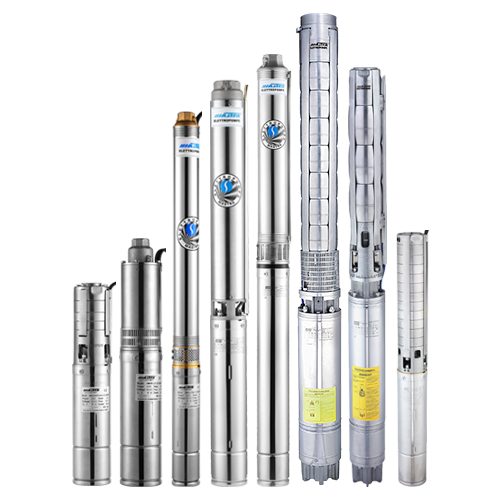
Installing a submersible water pump can transform your water management system, whether you're dealing with basement flooding, irrigation needs, or well water extraction. Unlike surface pumps that sit above ground, submersible water pumps operate underwater, providing reliable performance with minimal noise and maintenance requirements.
This comprehensive guide walks you through the entire connection process, from selecting the right components to testing your completed installation. By following these detailed steps, you'll ensure your submersible water pump operates safely and efficiently for years to come.
Before beginning any electrical work, always turn off power at the main breaker and consult local electrical codes. Some installations may require professional electrical work or permits.
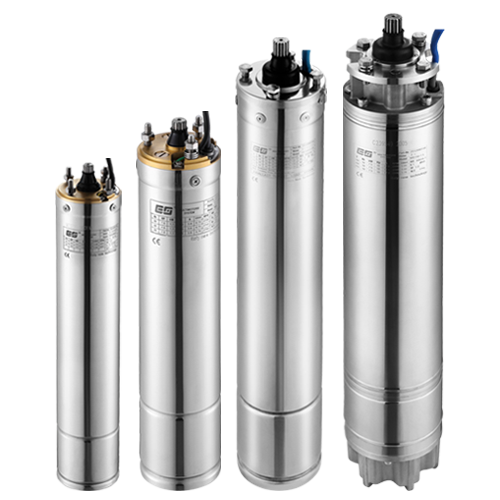
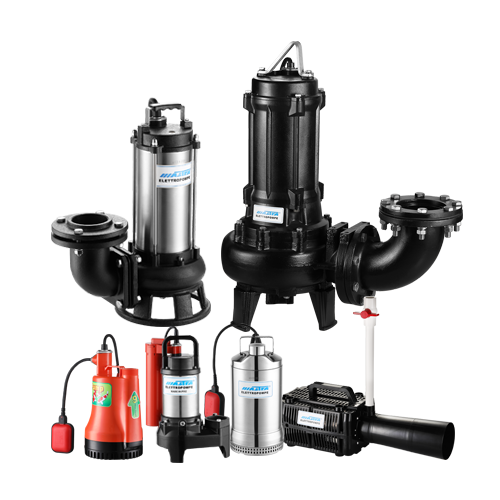
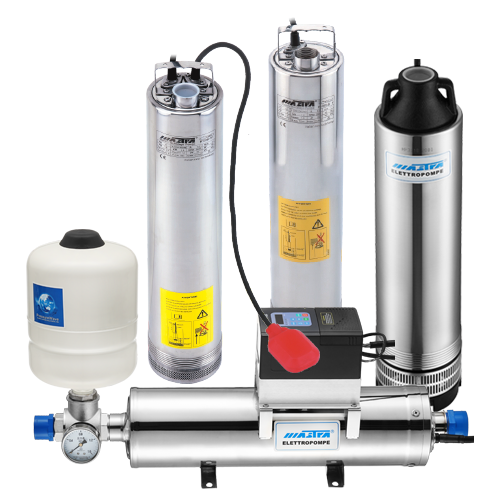
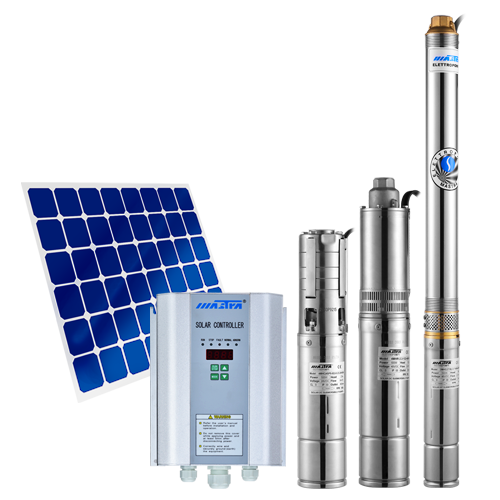
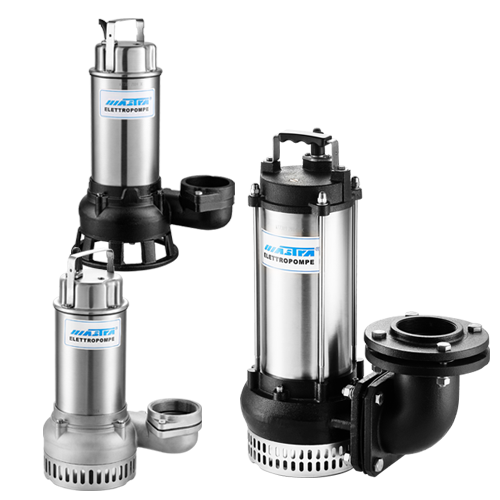
Every submersible water pump installation requires several key components working together as a complete system. Understanding each component's role helps ensure proper selection and installation.
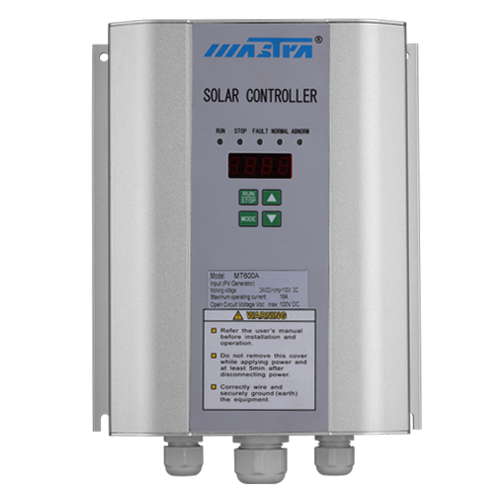
The control box serves as the brain of your submersible water pump system. It houses the starting components and protects the motor from electrical issues. Single-phase pumps typically use capacitor-start control boxes, while three-phase systems require different configurations.
Electrical cable connects your pump motor to the control box above ground. This specialized cable must withstand constant submersion and includes separate conductors for the motor windings and ground wire. Cable gauge depends on pump horsepower and installation depth.
A pressure switch automatically starts and stops your pump based on system demand. Most residential systems use adjustable switches with cut-in pressures around 20-30 PSI and cut-out pressures of 40-50 PSI.
Drop pipe carries water from the pump to the surface. Common materials include PVC, polyethylene, or galvanized steel, depending on application requirements. Pipe diameter affects flow rate and should match pump specifications.
The pitless adapter provides a sanitary, frost-proof connection point where your drop pipe connects to the horizontal supply line. This component is essential for well installations in cold climates.
Check valves prevent water from flowing back down the pipe when the pump stops, maintaining system pressure and preventing pump cycling.
Proper preparation prevents costly mistakes and ensures a safe installation process. Start by gathering all necessary tools and materials before beginning work.
Turn off electrical power at the main panel and verify it's off using a multimeter. Tag the breaker to prevent accidental restoration during installation. Even experienced electricians follow lockout/tagout procedures for submersible water pump connections.
Check local electrical codes regarding submersible pump installations. Many areas require GFCI protection, specific wire types, or professional electrical connections. Some jurisdictions mandate electrical permits for new pump installations.
Measure the total depth from ground level to pump installation point. This determines cable and pipe lengths needed. Add extra length for connections and any horizontal runs.
Inspect the well casing or sump pit for obstructions, damaged areas, or contamination. Clean debris that might interfere with pump operation or damage equipment during installation.
Verify adequate clearance around electrical connection points. Control boxes need ventilation and service access, while pressure switches require adjustment accessibility.
Electrical connections represent the most critical aspect of submersible water pump installation. Improper wiring can damage expensive equipment or create safety hazards.
Begin by mounting the control box in a dry, ventilated location near your electrical panel. Position it where you can easily access terminal connections for future maintenance.
Inside the control box, you'll find numbered terminals corresponding to your pump motor leads. Most single-phase pumps use three motor leads plus ground, while three-phase systems require additional connections.
Connect the incoming power supply to the designated line terminals, typically marked L1 and L2 for single-phase or L1, L2, and L3 for three-phase power. Use wire nuts rated for the current load and ensure all connections are tight.
Route the submersible pump cable from the control box to the pump location. Avoid sharp bends or contact with rough surfaces that might damage the cable jacket.
At the pump end, strip cable conductors according to manufacturer specifications, typically 1/2 to 3/4 inch. Use waterproof wire nuts or heat-shrink connections designed for submersible applications.
Connect each motor lead to its corresponding cable conductor. Standard color coding uses black and red for the main windings, yellow for start winding, and green for ground. Double-check these connections against pump documentation.
Proper grounding protects both equipment and personnel from electrical faults. Connect the equipment grounding conductor to the pump motor frame and run it back to the electrical panel ground bar.
Install appropriate overcurrent protection sized according to pump full-load amperage. Most submersible water pumps require motor circuit protectors or dual-element fuses rather than standard circuit breakers.
Consider lightning protection for well installations in areas prone to electrical storms. Lightning arresters can prevent surge damage to sensitive control components.
The mechanical installation determines your system's hydraulic performance and long-term reliability. Take time to plan pipe routing and support systems before making permanent connections.
Start pipe assembly at the pump discharge, working upward toward the surface connection. Use appropriate fittings for your pipe material and ensure all threaded connections are tight.
Install the check valve close to the pump discharge, following manufacturer orientation markings. Some pumps include integral check valves, eliminating the need for separate components.
Support the pipe assembly at regular intervals to prevent stress on connections. Use proper pipe hangers or clamps rated for the installation environment.
For well installations, the pitless adapter provides the critical connection between vertical drop pipe and horizontal supply line. Cut the well casing opening precisely according to adapter specifications.
Install the adapter body in the casing wall, ensuring proper seal against water infiltration. The adapter must maintain structural integrity under pipe loads and thermal cycling.
Connect the drop pipe to the adapter's vertical connection, then attach the horizontal supply line to the adapter's outlet. Test all connections for leaks before backfilling.

A properly configured pressure system maintains consistent water pressure throughout your distribution network. The pressure tank and switch work together to minimize pump cycling and extend equipment life.
Mount the pressure tank on a stable, level surface with adequate clearance for connections and maintenance. Pre-charge the tank to approximately 2 PSI below your pressure switch cut-in setting.
Connect the tank to your main supply line using appropriate fittings and a tank tee. Install a pressure gauge and tank isolation valve for future maintenance access.
Verify the tank's air charge periodically, as proper pre-charge is essential for optimal system performance. Low air pressure causes rapid pump cycling and premature component wear.
Adjust the pressure switch to match your system requirements. Start with conservative settings and fine-tune based on actual performance. Most residential systems work well with 30-50 PSI operating ranges.
Test switch operation by monitoring pump start and stop cycles. The pump should start when pressure drops to the cut-in setting and stop when reaching cut-out pressure.
Document your final pressure switch settings for future reference. Include cut-in pressure, cut-out pressure, and any differential adjustments made during commissioning.
Thorough testing ensures your submersible water pump installation operates correctly and identifies any issues before they cause system failures.
Begin with all valves closed and electrical power confirmed off. Fill the drop pipe and pressure tank to prevent dry operation during initial startup.
Energize the system and observe the initial pump cycle. The pump should start smoothly without excessive noise or vibration. Monitor amperage draw to verify it matches pump specifications.
Check all connections for leaks during the first few cycles. Address any leaks immediately, as they can worsen quickly and damage surrounding areas.
Measure flow rate and pressure at various fixtures to confirm system performance meets design requirements. Document baseline measurements for future comparison.
Test the pressure switch operation through several complete cycles. Verify that cut-in and cut-out pressures remain consistent and within acceptable ranges.
Check motor amperage under normal operating conditions. Amperage significantly above nameplate ratings may indicate pump problems or incorrect voltage supply.
Regular maintenance keeps your submersible water pump system operating efficiently and extends equipment life. Establish a maintenance schedule based on system usage and environmental conditions.
Monitor electrical connections for signs of corrosion or loosening. Tighten connections as needed and replace any damaged components promptly.
Check pressure tank air charge monthly during the first year, then quarterly once the system stabilizes. Maintain proper pre-charge to prevent pump short-cycling.
Inspect visible piping and fittings for leaks, corrosion, or damage. Address minor issues before they become major problems requiring system shutdown.
Schedule annual electrical inspections to verify control box operation and connection integrity. Professional testing can identify developing problems before equipment failure occurs.
Consider periodic pump performance testing, especially for wells or high-usage applications. Declining performance may indicate pump wear or well issues requiring attention.
Plan for eventual pump replacement by documenting installation details and maintaining spare parts inventory. Proactive planning minimizes downtime when service becomes necessary.
Proper installation of your submersible water pump creates a reliable water system that serves your needs for many years. Focus on quality components, careful installation practices, and regular maintenance to maximize your investment.
Remember that submersible water pump systems involve both electrical and plumbing work that may require professional expertise or permits in your area. When in doubt, consult with qualified contractors who understand local codes and installation requirements.
Document your installation with photos, wiring diagrams, and component specifications. This documentation proves invaluable for future maintenance, troubleshooting, or system modifications. A well-installed submersible water pump system provides dependable water service with minimal ongoing attention.